


How to Replace Window and Door Weatherstripping
February 3, 2026
Over time, the rubber or foam seals around your windows and doors—known as weatherstripping—can crack, shrink, or become brittle. This compromises their ability to keep out drafts, moisture, and dust, leading to higher energy bills and less comfortable living spaces. Fortunately, replacing weatherstripping is a straightforward, cost-effective DIY project that can significantly improve your home's efficiency. Here’s a step-by-step guide.
Tools and Materials You’ll Need
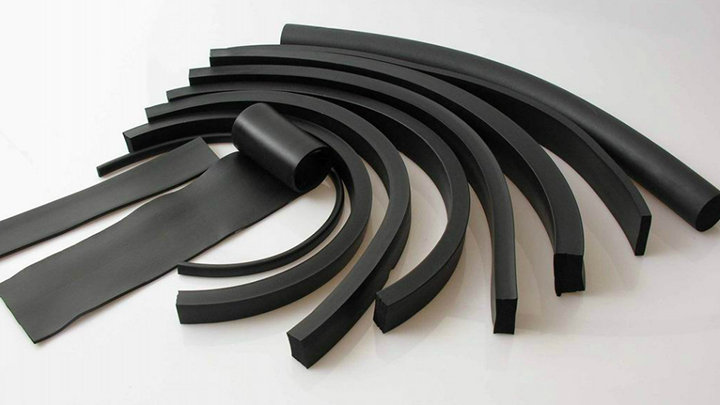
- New weatherstripping: Ensure you choose the correct type and size for your application (common types include V-strip, foam tape, door sweeps, and tubular rubber gaskets).
- Utility knife or scissors.
- Screwdriver (flat-head or Phillips, as needed).
- Pliers and a putty knife (for removing old adhesive and stubborn staples).
- Measuring tape.
- Rubbing alcohol or a mild adhesive remover.
- Clean cloth.
- Caulk gun (if using adhesive-backed strips that require separate sealant).
Step-by-Step Replacement Guide
1. Remove the Old Weatherstripping
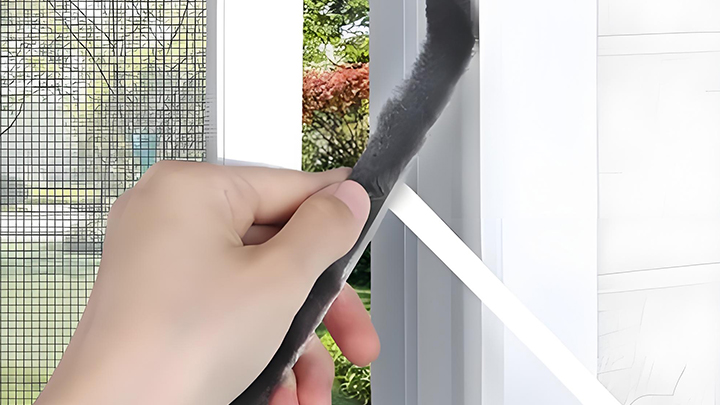
Carefully peel, pull, or pry out the existing seal. For adhesive-backed types, use a putty knife to gently lift an edge. For strips held in place with nails or staples, use pliers to extract them. Be patient to avoid damaging the window or door frame.
2. Clean the Channel or Surface
Thoroughly clean the area where the old stripping was installed. Remove all remnants of old adhesive, dirt, and debris using a putty knife and a cloth dampened with rubbing alcohol. A clean, dry, and smooth surface is crucial for the new seal to adhere properly.
3. Measure and Cut
Measure the length of each side (top, bottom, and sides) that requires new weatherstripping. It’s best to measure each run separately, as dimensions can vary slightly. Cut the new stripping to the exact measured lengths. For V-strip or tubular gaskets, cut at a 45-degree angle at the corners for a neat, professional fit.
4. Install the New Weatherstripping
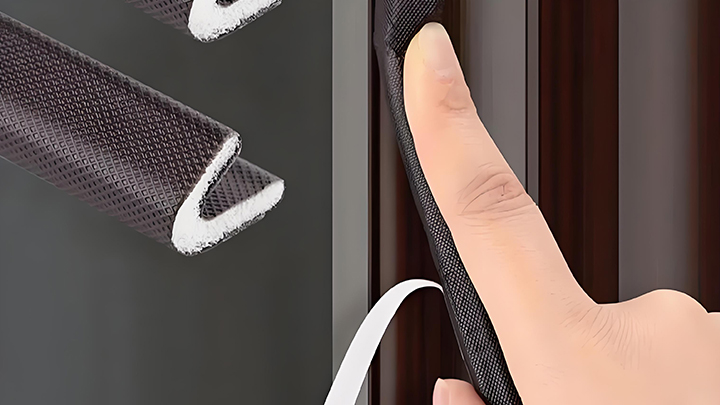
- For adhesive-backed strips: Peel off the backing a few inches at a time. Starting at one end, press the strip firmly into place, smoothing it as you go to prevent bubbles or gaps. Apply firm, even pressure along its entire length.
- For compression-fit types (like V-strip or certain door seals): Simply insert the strip into the frame’s channel, ensuring it sits snugly and evenly.
- For door bottoms (sweeps): Align the sweep so it makes light contact with the threshold. Mark and pre-drill holes if necessary, then screw it securely into place on the interior side of the door.
5. Check Your Work
Close the window or door slowly. You should feel slight, even resistance from the new seal—this indicates a good fit. It should close completely without significant force. Inspect visually for any gaps or uneven sections. Trim or reposition if needed.
Important Tips for Success
- Choose the right product: Consult a hardware store specialist if unsure. Different applications require different materials (e.g., high-traffic doors need durable rubber, while window sashes may use thin foam).
- Replace in mild weather: Install weatherstripping when temperatures are moderate (ideally above 50°F/10°C) to ensure materials are pliable and adhesives bond well.
- Don’t over-compress: A seal that is too thick will prevent windows or doors from closing properly, while one that is too thin will leave gaps. Test fit a small section first.
- Work systematically: Complete one window or door at a time to avoid mixing up measurements or materials.
When to Call a Professional
If the window or door frame itself is warped, rotted, or damaged, replacing the weatherstripping alone may not solve the problem. In such cases, consult a professional to assess whether repair or full replacement of the unit is necessary.
By investing a few hours and minimal expense, you can seal annoying drafts, reduce energy waste, and enjoy a quieter, more comfortable home. Regular inspection and timely replacement of worn weatherstripping is one of the smartest maintenance tasks any homeowner can perform.